

In this post, I'm sharing my top five tips for gluten-free baking so you can create recipes with confidence!
This post may contain affiliate links. Please see my disclosure page for more information. Thanks!
About This Gluten-Free Baking Tips Post
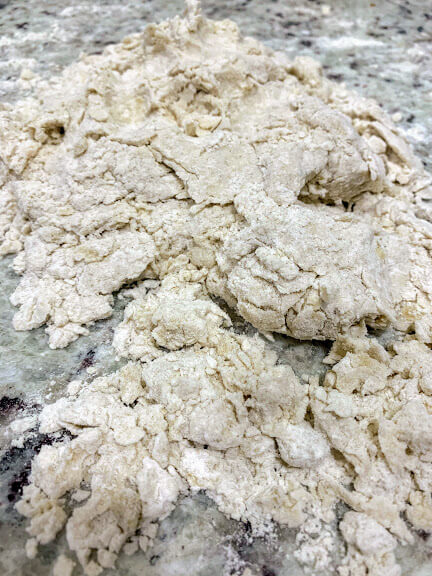
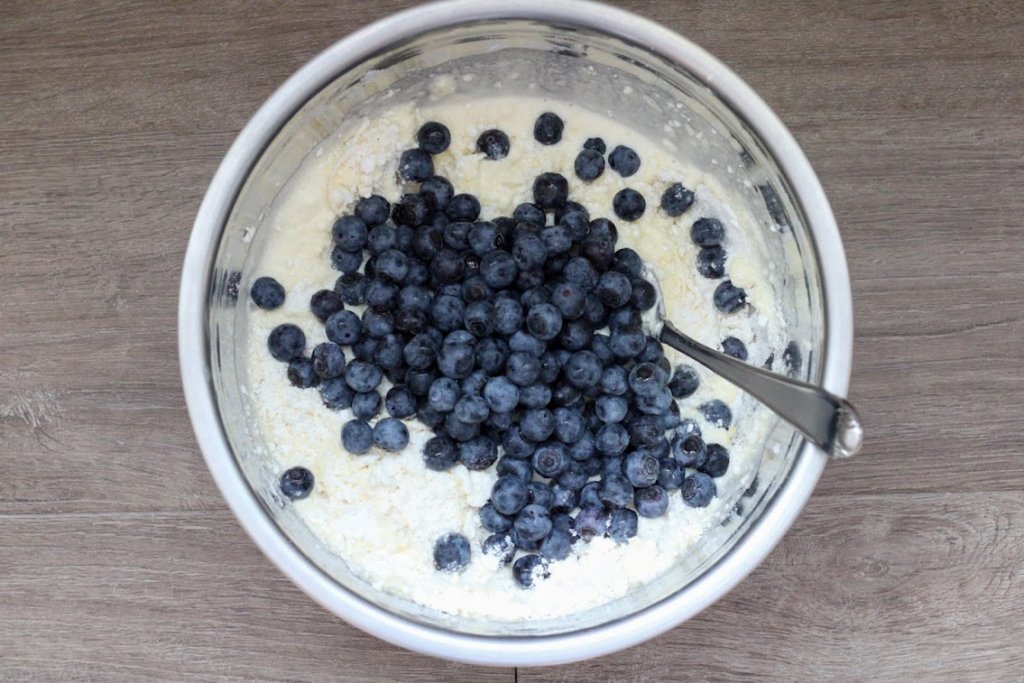
Gluten-free baking can be so challenging!
Has the above picture ever happened to you?
My friend, you aren't alone.
Baking normally is an exact science and method that requires practice.
But gluten-free baking can be even more complicated!
Due to the lack of gluten, gluten-free baking requires patience, proper methods, and using the right products for the job.
If baking WITH gluten is a science, then baking WITHOUT it is science on a whole new level!
It's tricky, frustrating, and confusing - especially if you're new to the gluten-free recipe world.
Plus, the variety of gluten-free products on the market today can give you different results!
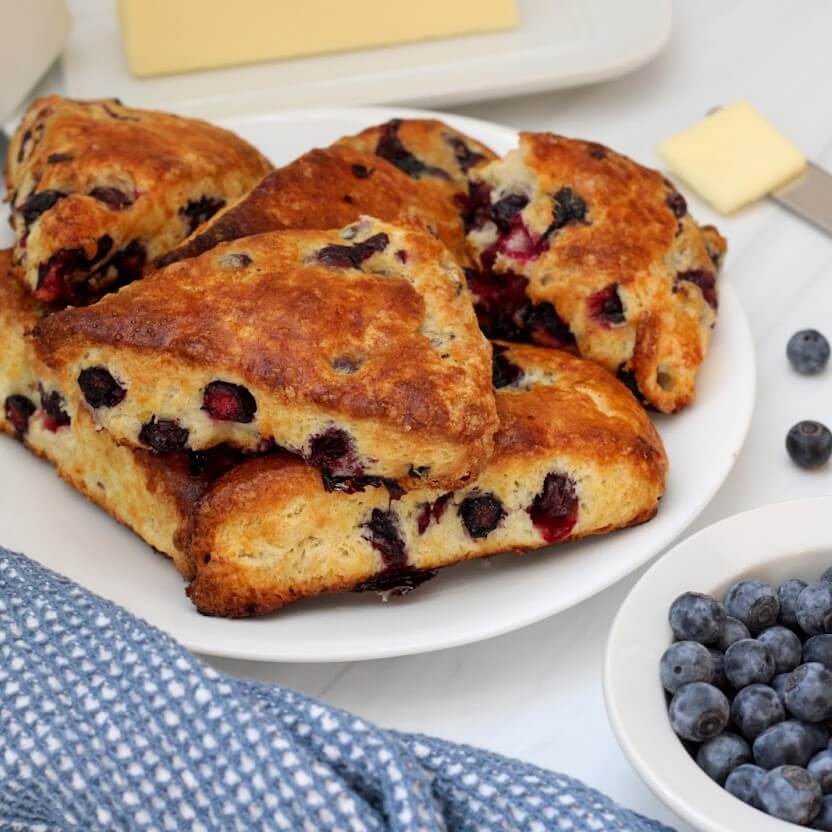
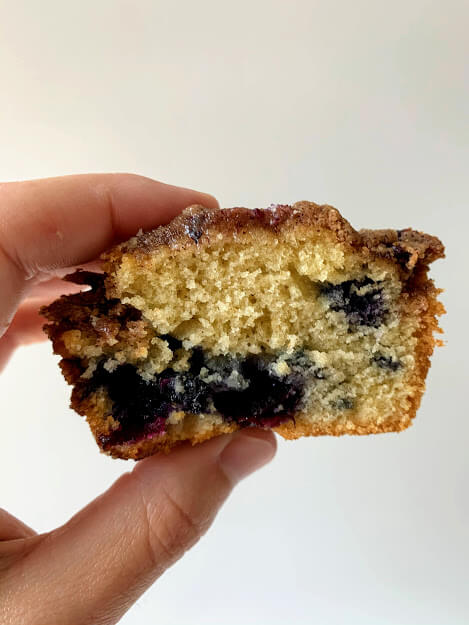
Here are my tips for gluten-free baking so that you can have successful gluten-free baked goods right at home, like this!
Five Tips For Gluten-Free Baking
Gluten-Free Baking is not Gluten-Filled Baking.
First of all, this goes without saying, but I'm going to say it anyway.
Gluten-free baking is NOT gluten-filled baking.
Gluten is a protein found in wheat, barley, and rye. It's the sticky, glue-like substance that helps baked goods keep their shape, provides lift and excellent texture.
There are techniques, methods, and tricks that you think would be universal when it comes to baking, but they are not.
Because when there is no gluten to develop, certain tips and tricks you may have learned for regular baking will not apply, and should be thrown out the window.
For example...
When baking a quickbread, like banana bread, most traditional recipes with all-purpose flour will tell you to mix until "just combined". This is to prevent overdevelopment of gluten so the quickbread stays light and fluffy.
But news flash: there is NO gluten when making gluten-free banana bread. And if you don't mix your ingredients thoroughly, you run the risk of it not baking properly. So don't be afraid to overmix!
Another example...
After letting yeast-based recipes rise, most recipes will recommend for you to "punch down" the dough. THIS IS THE OPPOSITE OF WHAT WE WANT! Because we have no gluten to help things rise with that yeast or whatever leavening agent you have used, we need every bit of that rise to help with texture and fluffiness! Punching it down will just negate all of the hard work the yeast just did.
So, remember that gluten-free baking will be different due to the lack of gluten.
Now, let's get to my gluten-free baking tips!
Follow the gluten-free recipe carefully.
If you are following a recipe that is specifically written as a gluten-free recipe, do NOT and I repeat, do NOT change anything! You are setting yourself up for failure if you change it.
Gluten-free recipes are specifically formulated using certain ingredients, measurements, and methods. Chances are the person who wrote the gluten-free recipe used those ingredients and measurements for a reason. And if you change them, you could change the entire bake!
It's best to follow the recipe as written one time, and then if you want to modify something, go for it!
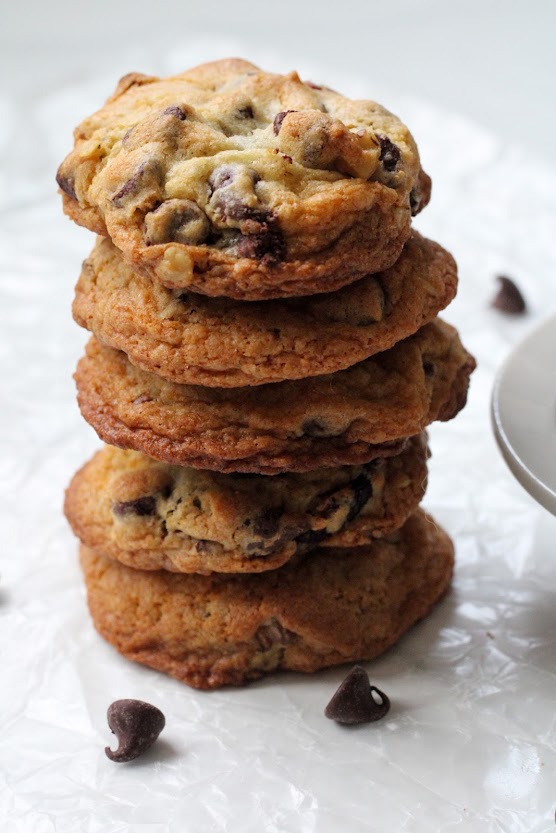
For example, these peanut butter chocolate chip cookies are flourless and are super soft when they come out of the oven. Leaving them to continue cooking on the baking rack is crucial for their structural integrity. If you move them too fast, they will fall apart and be too soft.
Eggs add fluffiness and are your friends.
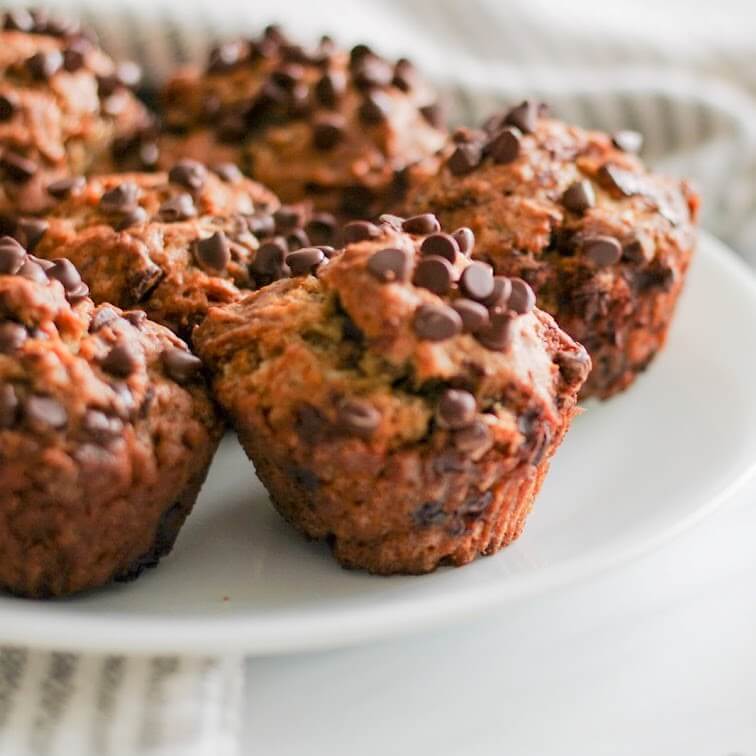
To improve the fluffiness of muffins and quick bread, try adding 1 additional egg. The egg can provide more lift which would normally be gluten's job. And since we don't have gluten to work with, an egg can be a good replacement.
When recipe testing these gluten and dairy-free zucchini muffins, I found that adding an additional egg gave them the right amount of fluffiness and texture it had been lacking on previous recipe tests.
So Is Baking Powder.
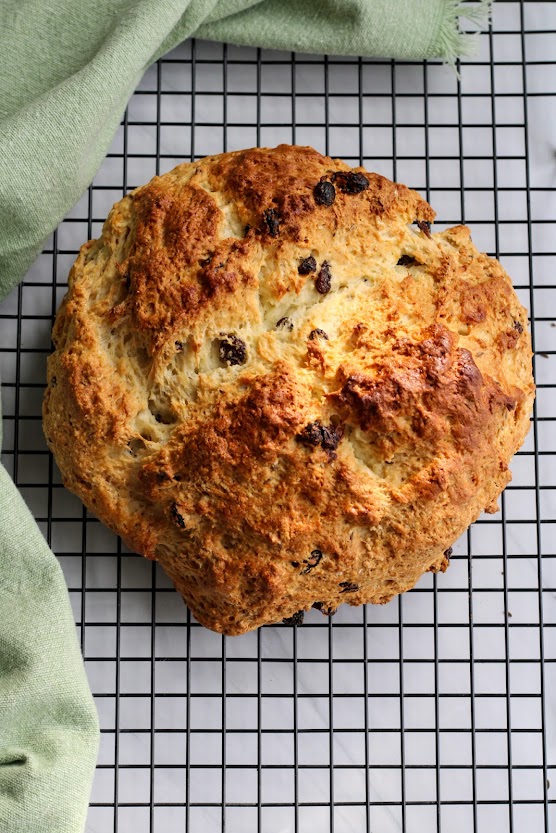
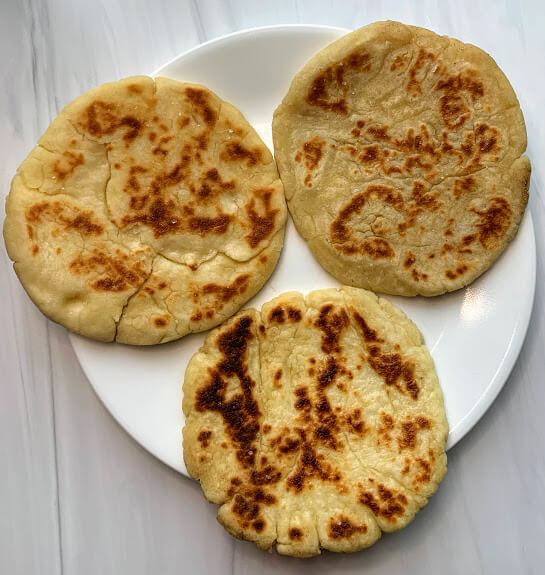
Growing up, my Dad and I always made Irish soda bread for St. Patrick's Day. Coming from an Irish family, I wanted to continue this tradition in a gluten-free way once I was diagnosed with celiac disease. And even though the recipe only called for a litttttle bit of baking soda, every time I made the same recipe I had baked growing up, only with a gluten-free flour blend, it fell flat.
After doing more research, I found out that sometimes gluten-free baked goods need a little help to rise, and that's where baking powder can come in handy. Be sure to use gluten-free baking powder and add slowly - a ½ teaspoon at a time.
Since using both baking powder and baking soda in my Irish soda bread, the bake now looks like this:
Add more liquid/fat to improve texture.
Have your gluten-free baked goods ever been dry or super crumbly? Gluten-free baked goods can be dry and crumbly without any gluten. When you are adapting a recipe that calls for regular, all-purpose flour to a gluten-free version, most of the time, there's a need for more liquid or fat.
Some alternatives you can try here are to add additional fat, like butter or oil, or liquids such as water or milk. Greek yogurt or sour cream can also help keep the batter moist. Go slow, ¼ cup at a time, until you get the texture you are looking for.
Measure your ingredients carefully.
Is baking by weight the most accurate and precise way to bake gluten-free?
Yes. I've done it when baking gluten-free sourdough and also when making homemade pizza.
But is it realistic?
Not really.
In my experience, most people don't have the time or even a kitchen scale to bake this way. If you do, that's awesome! Good for you! In my experience, it's not the baking that most people do.
And if you are a typical, everyday baker like me, and you are NOT measuring for weight, then be sure to spoon your flour into your measuring cup, then level off with the back of the knife. This makes sure you get an accurate amount.
Not all gluten-free flours are the same!
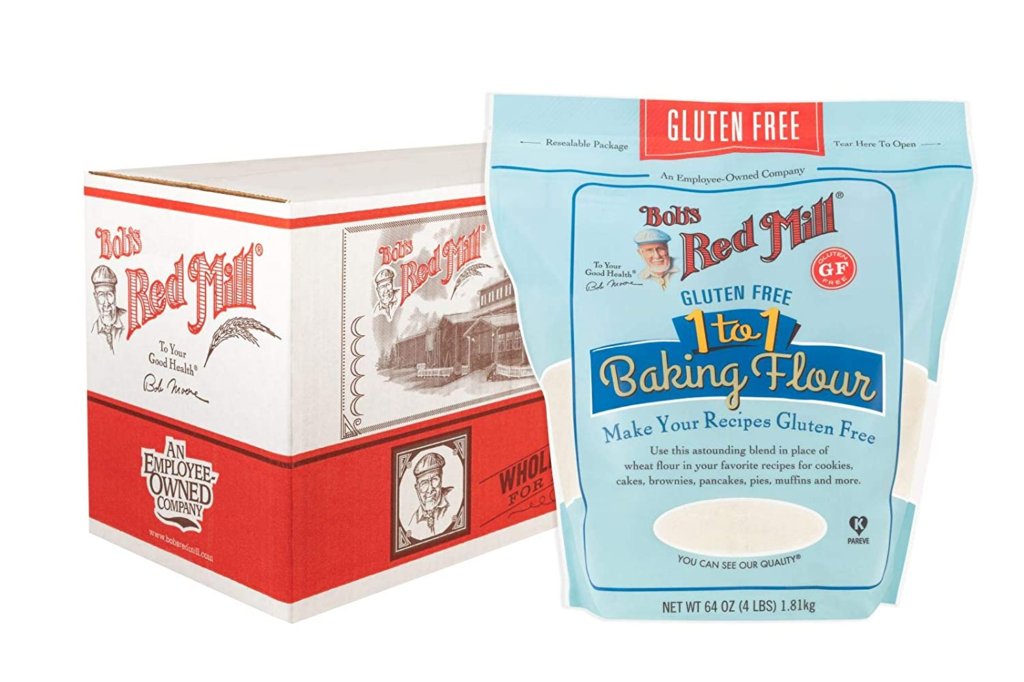
Bob's Red Mill 1:1 Baking Flour
Cup4Cup Multipurpose Flour
Gluten-free flour mixes use different ingredients to create a gluten-like product. They are not interchangeable and can have a huge impact on your final results.
A few important things to note about gluten-free flours:
- Do not substitute a single gluten-free flour for a gluten-free flour blend. These are not the same thing. I've seen this mistake in my recipes before where someone tried to use a single gluten-free flour, such as almond flour, as a replacement for a gluten-free flour blend. Don't do this! It will not come out the same.
- Be careful of what you are buying. Whether it's a single gluten-free flour, a gluten-free flour blend, or a gluten-free baking mix that may already contain a leavening agent (such as baking powder, like Pamela's Baking Mixes tend to have), pay attention to what you buy! Each could give you a different result.
- If you are frustrated with your gluten-free baked goods, try a different gluten-free flour blend! They all produce different bakes. Take a look at these examples to show you how making the exact same recipe but with different gluten-free flour blends yields different results.
Cup4Cup Multipurpose Gluten-Free Flour
My #1 gluten-free flour for all types of baking:
cookies, pastries, pies, cakes, breads, and thickening soups/stews
Cup4Cup Gluten-Free Multipurpose Blend (contains dairy)

Bob's Red Mill 1:1 Baking Flour (Dairy-Free)
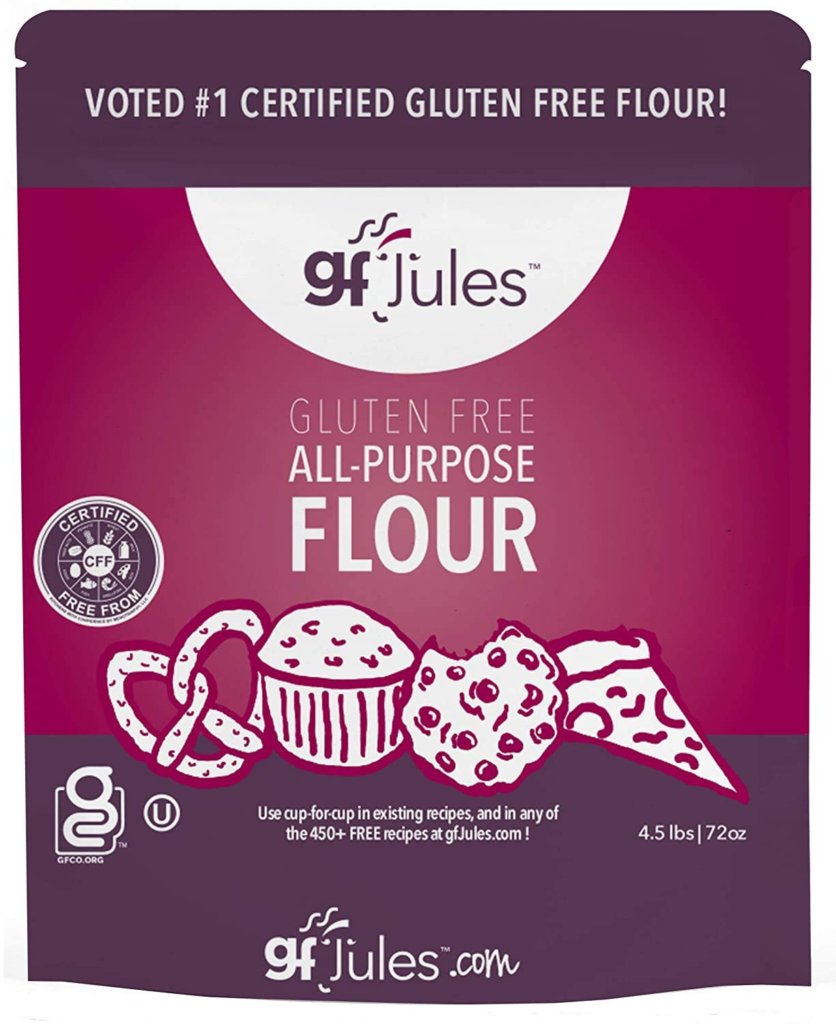
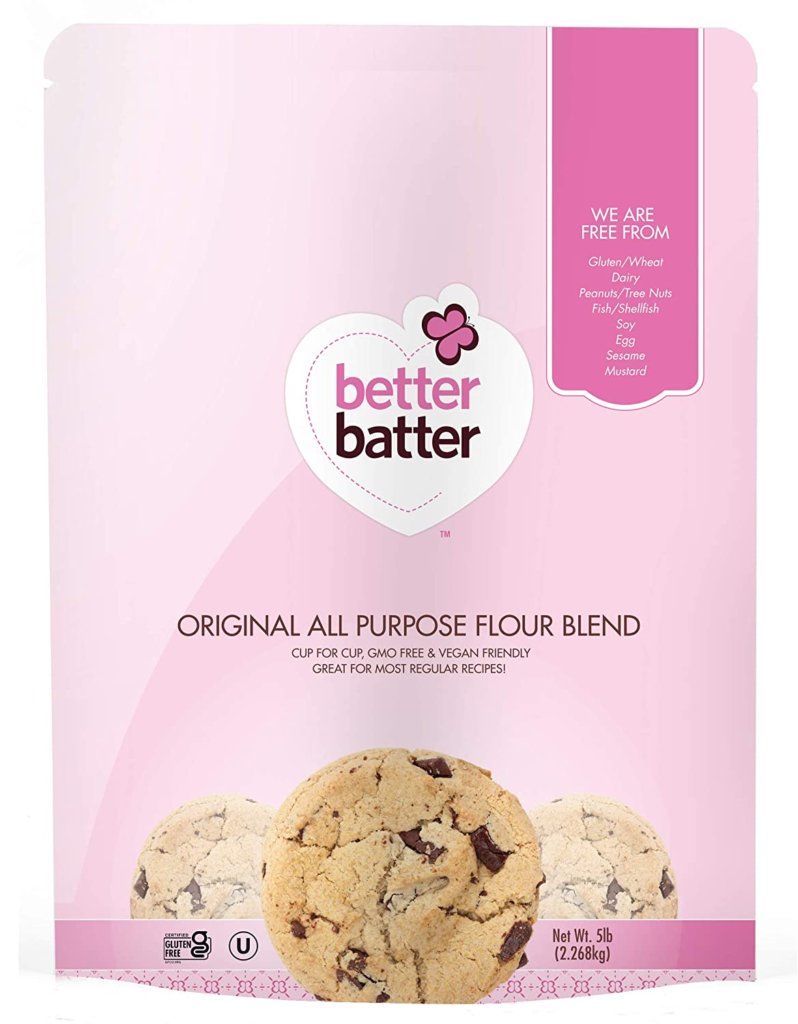
Other highly recommended gluten-free flour blends to consider:
BONUS TIP FOR GLUTEN-FREE BAKING: Let batters rest.
According to America's Test Kitchen, a good tip to help prevent grittiness in quickbreads, muffins, pancakes, waffles, etc. is to allow the batter to rest before baking. Once your batter is prepared and ready to go into the pan, allow it to sit for 10-15 minutes at room temperature. This helps your final product have great texture. Don't go beyond that timeframe though, or the consistency can suffer. This has helped me immensely when baking gluten-free!
Tools For Baking Gluten-Free
KitchenAid: This is an investment, but will last you for years. It makes baking a breeze and so much easier than using a handheld mixer. Pro tip - you can get them renewed through Amazon for a cheaper price!
Baking Sheets: I recommend these from Nordic Ware. I have them in multiple sizes!
Silicone Mats: Not required, but helpful and less wasteful than using parchment paper. I use SilPat because they last forever and use them for all my baking needs.
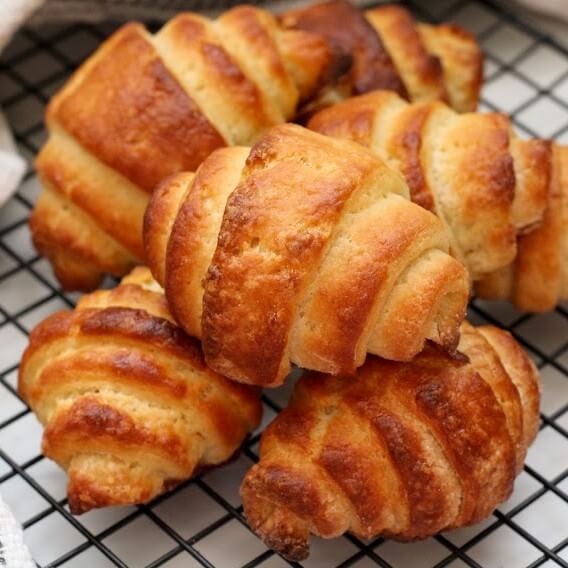
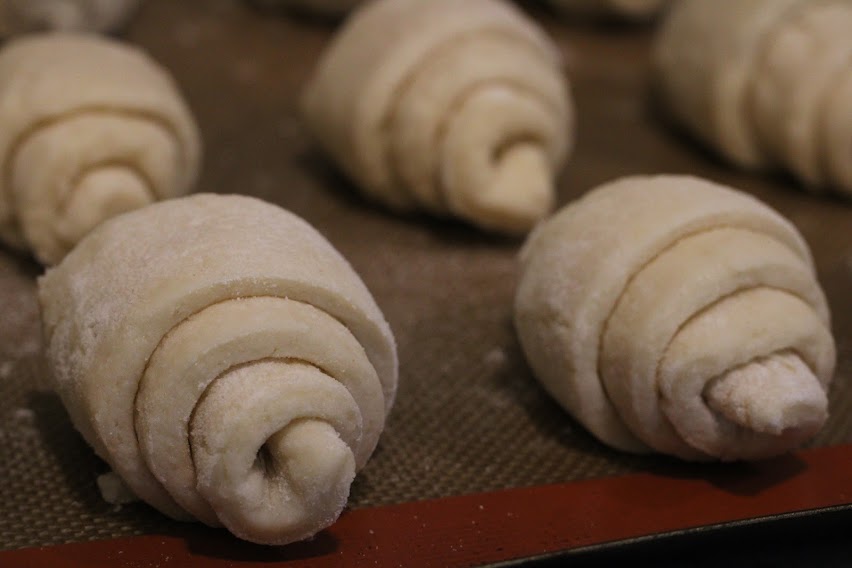
A ruler or tape measure: If you're doing something super specific, like these gluten-free croissants, you'll want to measure carefully.
Bench scraper: A super helpful tool for pastry, cookies, and bread. I use this one and love it!
Pastry brush: This is great for egg washes or brushing gluten-free flour off breads and doughs.
More information: Recipes Masterclass!
Let's be honest - recipe failures are such a bummer! And I want you to enjoy your gluten-free food, and not waste your time or money on recipes that taste like garbage.
So if you found this blog post to be helpful, I share exactly how to conver your family recipes to be gluten-free & DELISH in this 1-hour masterclass!
Converting recipes to be gluten-free isn't super straightforward. And I don't know about you, but I have no desire to buy 10 different gluten-free flours just to make a batch of blueberry muffins. No, thank you! In this masterclass, I'm diving into how YOU can convert your favorite recipes to not only be safe for you to eat but also still taste amazing as you remember.
It's pre-recorded, meaning you can quickly watch it on your own time, and also comes with my top gluten-free recipe tips, grocery swaps, AND gluten-free recipe tutorials for gluten-free apple pie, gluten-free gingerbread cookies, and gluten-free cranberry bread!
This masterclass is based on 14 years of trial and error in the kitchen as a gluten-free food blogger. Because I don't want you to suffer through your recipes, I want you to SMASH them and enjoy every bite!
Gluten-Free Recipes To Build Your Confidence!
Feel like an easy quickbread? This banana bread with walnuts hits the spot.
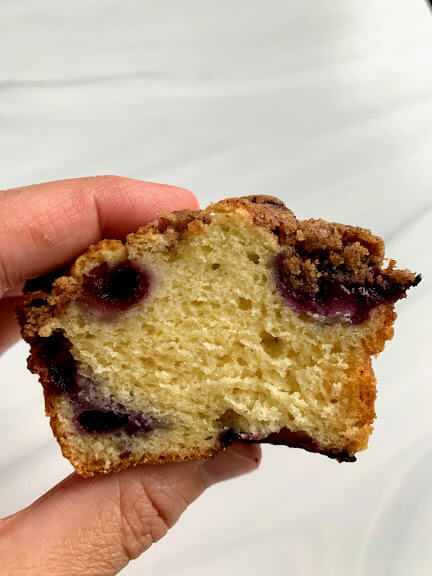
What about some muffins? Try these blueberry streusel muffins, or these zucchini muffins.
Craving cookies? Indulge in chocolate chip cookies with cranberries and walnuts.
Looking for a savory scones recipe? Bake this version with bacon, cheddar, and chives.
Want to practice your pie making skills? Check out this gluten-free peach pie with lattice design.
Ready to take your baking skills to the next level? Try these delightful, buttery, and flaky gluten-free croissants.
Discover all the gluten-free baking recipes on the blog right here.
What gluten-free baking tips would you add to this list?
Let me know in the comments!


Comments
No Comments