Memorial Day Weekend is here - which is the perfect time to try a new dessert like gluten-free berry galettes!
This post may contain affiliate links. Please see my disclosure page for more information. Thanks!

About This Gluten-Free Galette Recipe
With warmer temperatures and berry season approaching, these gluten-free galettes have been on my mind for a while, and thanks once again to Cup4Cup flour, I've found a way to make them safe to eat while not compromising on flavor or texture. This recipe is an adaptation of my gluten-free pie crust recipe with some shaping tips from Smitten Kitchen.
What is a galette?
Think of a flaky, buttery pie, that's ten times easier to make, doesn't require a ton of shaping, and cooks in half the time. That's a galette!
A galette is a French pastry - very similar to a pie, but a lot more relaxed and less constricting! It's using pie crust in a freeform dessert - meaning you don't need a special dish to bake it. If you have an abundance of fresh raspberries, strawberries, blueberries, cherries, or other berries lying around, this pastry lets you make a patriotic and absolutely delicious dessert.
The best part about galettes is that you can also make savory galettes too. Since the pie crust isn't super sweet (and my gluten-free pie crust/galette dough only uses a tablespoon for 1 crust), this allows you to choose different kinds of fillings and make this dish into a savory galette too! You can do vegetables galettes using this same crust with tomatoes, zucchini, or others.
Ingredients You Will Need
-Gluten-Free Flour Blend (see below for my recommendations): This will be the base for our galette dough (again, this is just pie crust)
-Kosher Salt: For balance in the pie crust
-Granulated Sugar: A very small amount for the pie crust. More for the filling to sweeten the berries.
-Unsalted Butter: This is the fat content for our galette dough.
-Eggs: 1 egg in the galette dough for moisture and thickening. We will also use another egg to make an eggwash so it gets nice and golden brown when baking.
-Buttermilk: This is the main liquid content for the galette dough.
-Berries of Choice (I love using raspberries, blueberries, and blackberries for this)
-Lemon Juice & Zest: For a bright flavor and to balance the sweetness of the berries
-Cornstach: To thicken the berry mixture
Gluten-Free Flour For Galettes
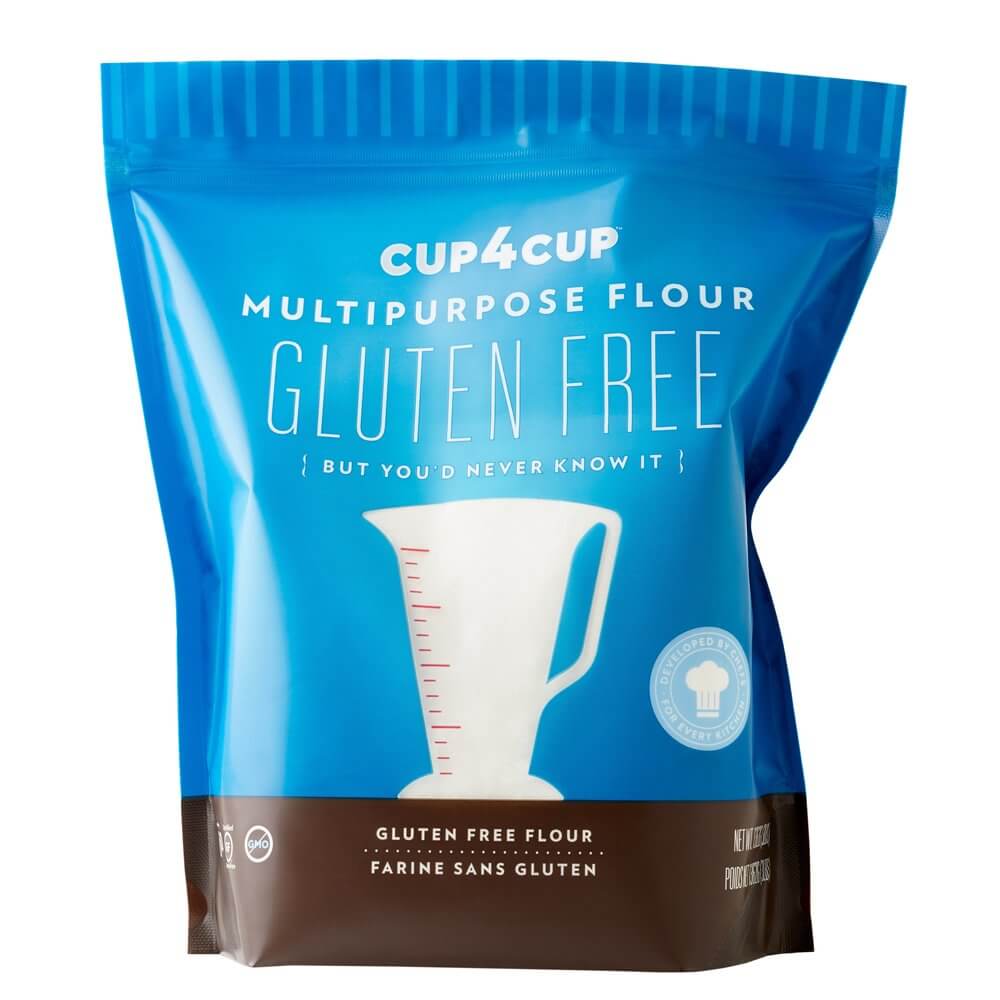
For best results, use Cup4Cup mutipurposeflour, which has a great reputation for pastries and will give you that nice, flaky texture. This is the flour blend that has allowed me to make gluten-free croissants, pie crust, bagels, empanadas, and pierogi with success!
Gluten-free flour blends are all different! For more gluten-free baking tips, check out this post with my top recommendations for success.
How To Make Gluten-Free Galettes
First, you prepare the gluten-free galette dough and let it rest in the fridge for at least thirty minutes to cool. You combine your berry mixture with the sugar, cornstarch, lemon juice, and lemon zest, and set that aside.
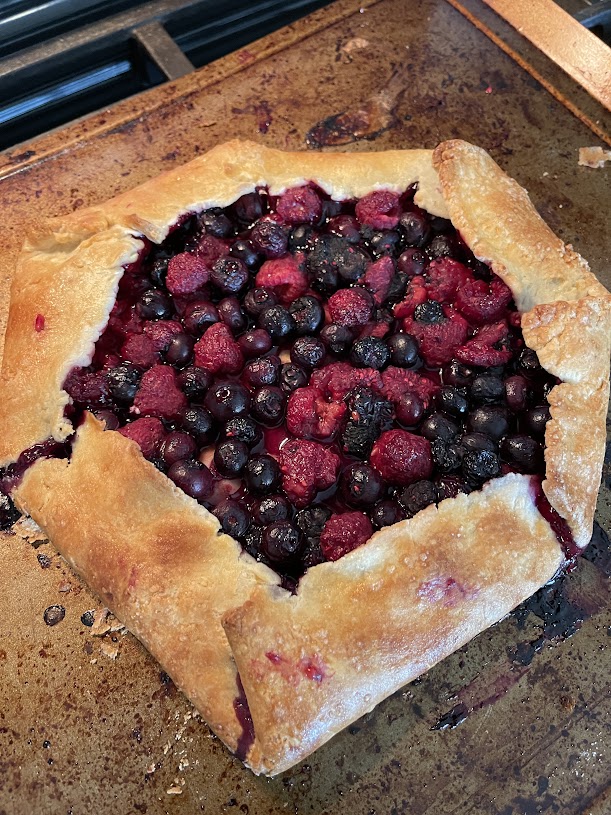
When the dough is cold, you roll it out into a large circle (don't worry about anything exact) andd add your fruit in the center. With the remaining dough that is exposed, you fold it over the fruit so it leaves the center exposed. There's absolutely zero pressure to make it look super fancy (unless you want to be an overachiever and make the star-shaped one like me, which I include the instructions for below.) It bakes for just 25-30 minutes, and that's it!
Troubleshooting Common Questions With Galettes
Do I Have To Make This Into A Special Shape?
No, you don't! You can just make an easier, freeform pattern. However, if you're curious...
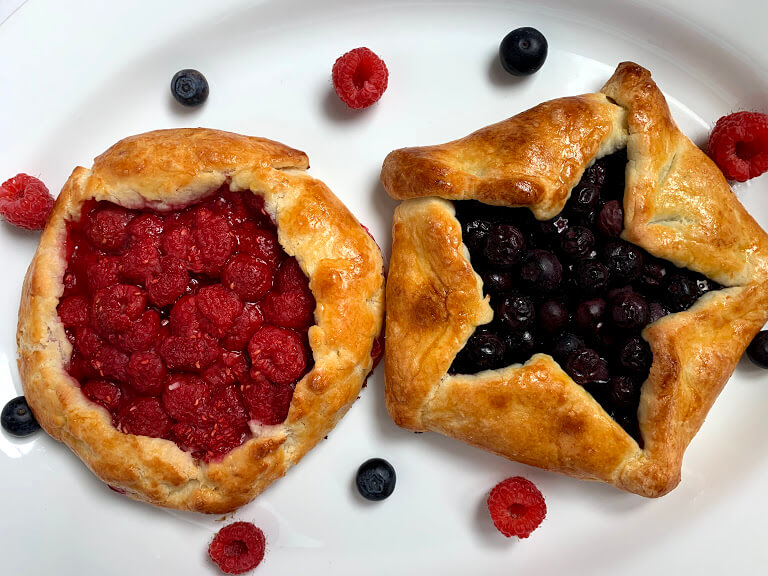
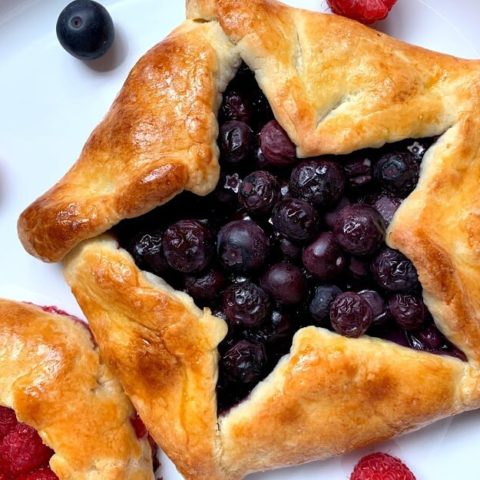
This recipe uses my gluten-free pie crust and berry mixture to create this galette. However, when I first made galettes I decided to not do a freeform pattern, but instead, make them into stars thanks to this recipe from Smitten Kitchen. I made one with Deb's star pattern, which is simple enough, and one as a regular round shape, which was easiest. You can choose to make them whichever way you like, but I will admit - making the star shape was really fun, and so patriotic!
You definitely don't have to make these into a star shape, and can freeform the gluten-free berry galette for the easiest option. However, the star pattern was really fun to try, and is super visually appealing for holidays like the 4th of July, Memorial Day, or Labor Day!
Troubleshooting Common Problems With Galettes
Let your refrigerated galette dough sit at room temperature for about 5 minutes before rolling. After the dough has rested in the refrigerator, it will be hard and crumbly. Let it sit at room temperature for about 5-7 minutes, and then if necessary, knead with your hands a few times to get a consistent, smooth dough. Remember, there's no gluten to develop, so you won't be messing anything up. Ideally, about 5-7 minutes on the counter should be a good amount of time to start maneuvering and rolling out your dough with a rolling pin. We don't want the dough too cold (this will make it break off into pieces) and we also don't want it too warm (this will make it tear and rip). We're looking for a happy medium here, and that's when the galette dough (which is the same as pie crust dough!) will perform beautifully, stretching and behaving just like regular pie dough!
Don't make pastry on a hot day.
Warmer temperatures mean your pastry is going to be more difficult to work with. Stick to a cooler day to make pie crust, if possible! And if at any point you notice your pie crust is becoming mushy and sticking too much to your countertop, roll it up into a ball, wrap in plastic or parchment paper, and refrigerate again for about 15 minutes. Then try again!
Be careful how you measure your gluten-free flour.
Along the same lines, and one of my top gluten-free baking tips, if you aren't measuring for weight, then be sure to spoon your flour into your measuring cup, then level off with the back of the knife. This makes sure you get an accurate amount.
Grate the Butter for Best Results.
A tip I learned from Sally's Baking Addiction and one that allows the butter to be better incorporated into your galette mixture. You can use a box grater to do this or a handheld grater. And if you don't have one of these, you can instead chop the butter into very small pieces. Make sure this butter is COLD and place it in the freezer before grating to help with this!
Follow. The. Recipe.
This recipe is specifically formulated using Cup4Cup Multipurpose gluten-free flour. If you decide to change anything or substitute other ingredients, they may come out differently than expected and I cannot speak to your results. My experience is in gluten-free and dairy-free baking, but not allergy-free, vegan, or egg-free. You can always email me: [email protected] with any questions and I'm happy to help troubleshoot the best I can.
Refrigerate the dough if it is difficult to work with.
If you notice your pie dough is becoming mushy or butter is leaking through your dough, or that your dough is too soft and starts ripping, it might be too warm. Wrap it in plastic wrap or parchment paper and place back in the refrigerator for 15-20 minutes to cool. Then remove and try again. Trust me - don't try to force the dough to do what you want when it's too warm. Be patient, refrigerate, and try again. It definitely helps!
Flour your work surface.
The gluten-free galette dough has a tendency to stick. Remember to use gluten-free flour on your hands and rolling pin, and on your work surface. Lift the dough frequently (pick it up completely off the countertop) and reflour the surface with gluten-free flour so it doesn't stick.
Can I Make Galettes Dairy-Free?
Yes, you can, but I cannot speak to your results. You will need to use a different gluten-free flour blend, as Cup4Cup Multipurpose contains milk powder. I recommend Bob's Red Mill 1:1 Baking Flour as a solid gluten & dairy-free alternative. You will also need to replace the butter with vegan butter, and the buttermilk as well. I've found the best substitute for dairy-free buttermilk is equal parts dairy-free yogurt and dairy-free milk.
Please note, I can digest dairy and do not normally bake pastry only gluten-free, not dairy-free. If you have questions or need help troubleshooting, please leave a comment and I will do my best to help! Another option would be to just use a pre-made pie crust for this galette that is gluten and dairy-free, like Wholly GF, which is allergy-friendly. You'd have to take it out of the pan and let it come to room temperature to mold/shape it.
How To Serve Gluten-Free Berry Galettes
Similar to pie, these galettes go perfectly with a dollop of fresh whipped cream or vanilla ice cream! And of course, you can substitute a dairy-free version of these if you need to. Truth be told you can have this for dessert, but I'm also a big fan of having a slice for breakfast! And instead of the whipped cream or vanilla ice cream, I use Greek yogurt. Yum!
How To Store Gluten-Free Berry Galettes
These galettes should be kept covered and in the refrigerator for up to 3-4 days. Keep in mind that gluten-free pastry tends to harden over time, so it will taste best within the first 48 hours. To reheat, cut a slice of whatever size you prefer, and heat in the microwave!
Can I Free Gluten-Free Galettes?
I typically don't, but I've frozen my gluten-free pies before with this crust recipe, and I think it should behave similarly. You can freeze the galette before baking, or after baking. Wrap tightly in plastic wrap/in a plastic bag and keep sealed in the freezer for up to 3-4 months. If it was previously baked, reheat in the oven at 350 degrees uncovered on a jelly roll pan to prevent any liquid from spilling over. If not previously baked, follow instructions listed here.
Looking for more 4th of July/Memorial Day recipes?
Make this gluten-free American flag cake for another patriotic dessert.
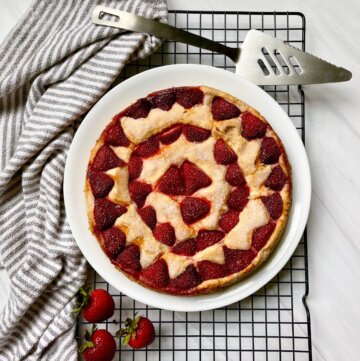
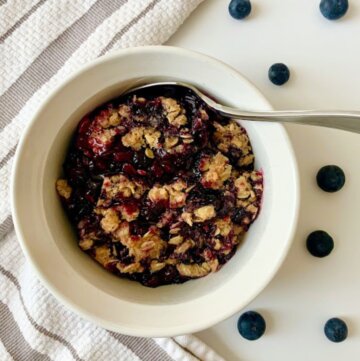
Use up fresh berries in a gluten-free crisp, or a gluten-free strawberry cake.
Bring a no bake pie everyone will love - gluten & dairy free key lime pie.
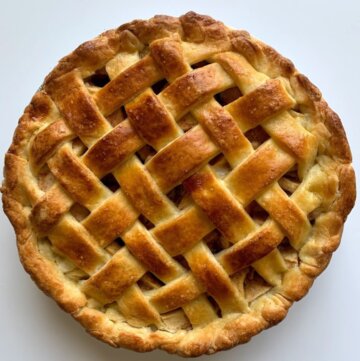
Go for a classic - Apple pie! This one is gluten-free with a lattice design so you'll look extra fancy.
Here's how to make gluten-free berry galettes!
If you love this recipe, please leave a comment. Thank you so much!
Gluten-Free Berry Galettes
Gluten-Free Berry Galettes
Using pie crust in a different way for summer berries!
Ingredients
For the dough
- 1 ½ cups gluten-free flour, like Cup4Cup, plus more for rolling & shaping the dough
- 1 Tablespoon granulated sugar
- ½ teaspoon Kosher salt
- 8 tablespoon (1 stick) very cold, unsalted butter, diced small
- 1 large egg
- ¼ cup cold buttermilk
For the filling
- 1 cup berries of choice
- 1-2 tablespoon sugar
- 1 tablespoon cornstarch
- juice from ½ lemon
- 1 teaspoon lemon zest
For the egg wash
- 1 egg yolk
- 1 tablespoon water
- sugar, for sprinkling
Instructions
First, prepare the galette dough. Place the Cup4Cup flour, sugar, and salt in a medium bowl and whisk to combine. Then, grate the butter using a box grater (make sure it is COLD). This will allow it to incorporate better into the dry ingredients. Add the grated butter to the mixture and combine using a fork or pastry cutter until it resembles a coarse meal. (You can also use a food processor for this part).
If you used a food processor for the previous step, pour the flour/butter mixture into a large bowl to continue. Then, in a separate small bowl, whisk together the egg and buttermilk until smooth.
Make a well in the center of the flour/butter mixture (a large hole), and begin pouring in the buttermilk and egg, whisking with a fork as you add. Continue mixing until a dough begins to form, and feel free to switch from the bowl to a clean countertop to roll the dough into a smooth ball. Use your hands, and keep mixing to make sure everything is incorporated and there aren't any crumbs or flour left on the bottom of the bowl. Don't worry, there is no gluten developing so you won't overmix. Then, wrap the dough in plastic wrap or bee's wrap and refrigerate for at least 30 minutes.
After 30 minutes, remove the dough from the refrigerator Preheat the oven to 350 degrees Fahrenheit. Line a baking sheet with parchment paper or a silicone mat.
*If the dough is stiff or crumbly when coming out of the refrigerator, wait until it comes to room temperature (about 10 minutes) and then knead it a few times with your hands before rolling with a rolling pin. The dough should become very soft and flexible, but if it's still too cold, it will be difficult to work with. Give it time to come to room temperature before you start rolling it out to prevent breakage.
On to a lightly gluten-free floured, clean surface, begin to roll out your dough with a floured rolling pin. If the dough sticks sprinkle more flour onto the surface or rolling pin, 1 teaspoon at a time. Begin rolling into a large circular shape, about ¼ of an inch in thickness.
For a freeform galette: Roll into a large circular shape, about ¼ of an inch in thickness. Don't worry about any precision here, it will all be folded over. I go for about the length and width of my pie plate (about 9x9 inches). Transfer the dough to an ungreased baking sheet.
For special shapes: Roll into a large circular shape, about ¼ of an inch in thickness. Using a knife, cut a circle in the dough, if you would like to make a round galette, or cut a pentagon in the dough, if you'd like to make a star. Transfer the dough to an ungreased baking sheet.
With the remaining dough, reroll the dough again, and make your second shape - again, either a circle, or a pentagon if you'd like to make a star. Place your second piece of dough on the baking sheet, leaving as much space as possible between the two galettes.
Finally, prepare the fruit. In a small bowl, mix together the berries, sugar, cornstarch, and lemon juice. I made 2 different galettes - one raspberry, and one blueberry, so I made two separate servings of the berry mixture. If you want to do all of one type of berry (or a mix of the two), double the filling.
If you are making a star-shaped galette, cut a 1-inch line towards the center at five points along each side of the pentagon shape, in between each point. You should have five 1-inch cuts in total. Place the berry mixture in the center of the dough, in a small circle shape. Begin to fold the edges over each other toward the middle, pinching the edges together, which will result in the shape of a star. If you are making a circle or freeform shape, simply place the berries in the center of the pastry in a circle shape, then begin to fold the edges over halfway toward the middle of the berries, leaving the center open.
In a small bowl, whisk together 1 egg yolk with 1 tablespoon of water. Brush the egg yolk mixture on the galette dough, then sprinkle with additional sugar. Bake on the middle rack of the oven for 30-40 minutes or until golden brown. Cool on baking sheet for 5 minutes before serving. Enjoy!
Notes
Galette Dough Crumbles: Let your refrigerated galette dough sit at room temperature before rolling. After the dough has rested in the refrigerator, it will be hard and crumbly. Let it sit at room temperature for about 5-7 minutes, and then if necessary, knead with your hands a few times to get a consistent, smooth dough.
Preparing the Dough Early
You can prepare the galette dough early. Refrigerate at least 1 hour and up to 3 days in advance, or freeze for up to one month. Defrost in the refrigerator.
Keep it Cold
Pie dough (Which is the same as galette dough) needs to be cold to roll out best. If you notice yours is sticking together, or getting mushy, place it back in the refrigerator to firm up for 20 minutes and try again.
Other gluten-free flour
In my experience, Cup4Cup is the best for gluten-free pies and pastries. If you use another gluten-free flour blend for this recipe, your results could vary.
Dairy-Free:
If you are looking to make this pie dairy-free, please see the full recipe post for instructions on how to do this and what substitutions/changes to make.
Freezing:
You can freeze the galette before baking, or after baking. Wrap tightly in plastic wrap/in a plastic bag and keep sealed in the freezer for up to 3-4 months. If it was previously baked, reheat in the oven at 350 degrees uncovered on a parchment lined baking sheet. If not previously baked, follow instructions listed here.
Nutrition Information
Yield 8 Serving Size 1Amount Per Serving Calories 380Total Fat 20gSaturated Fat 11gTrans Fat 0gUnsaturated Fat 8gCholesterol 56mgSodium 279mgCarbohydrates 45gFiber 2gSugar 9gProtein 5g
The nutrition information on each recipe card is provided as a courtesy and for your convenience. The data is calculated by Nutritionix. You are encouraged to make your own calculations based on your ingredients and preferred nutritional facts calculator. While I try to make sure they are accurate, I cannot guarantee the accuracy of these calculations.
Have you ever made a galette?
I've got more galettes I want to try soon - even savory buckwheat galettes, too!
Leave a comment and tell me what your favorite galette is!


Comments
No Comments