When was the last time you had gluten-free pop tarts? Let's make some!
This post may contain affiliate links. Please see my disclosure page for more information. Thanks!
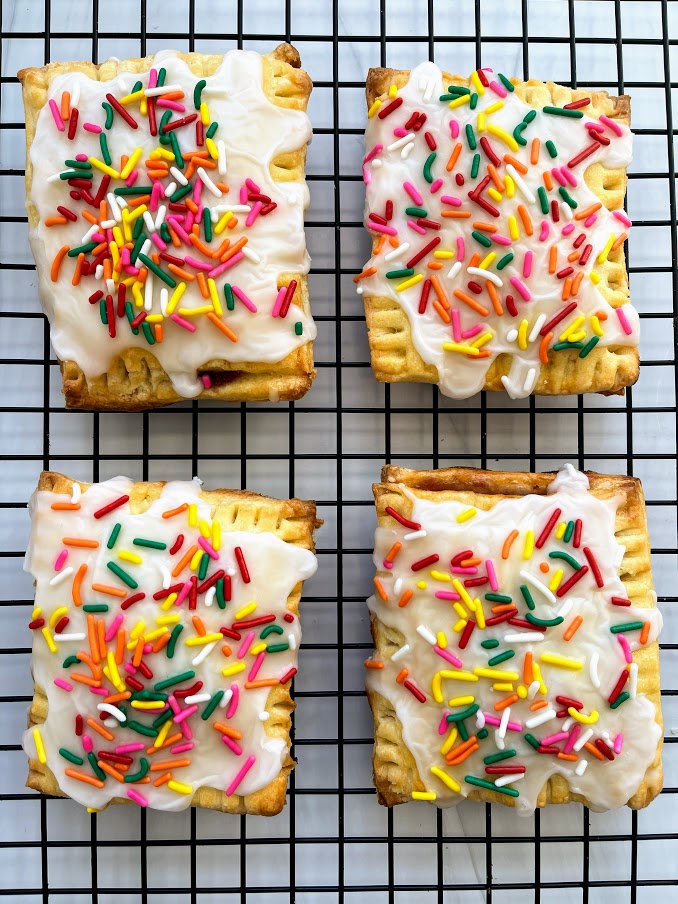
About This Pop Tarts Recipe
Growing up, pop-tarts were not typically found in my house. We ate pretty healthily as a family, so it was rare that I could convince my parents to buy pop-tarts. But I'm not complaining. Breakfast was meant to be healthy. However, dessert was dessert - and we enjoyed that from time to time.
These pop-tarts have all of the fun of childhood but none of the gluten! Using the same recipe for pastry dough from my gluten-free empanadas, these pockets are filled with raspberry jam, topped with frosting, and for extra decoration, rainbow sprinkles!
The Gluten-Free Flour Blend
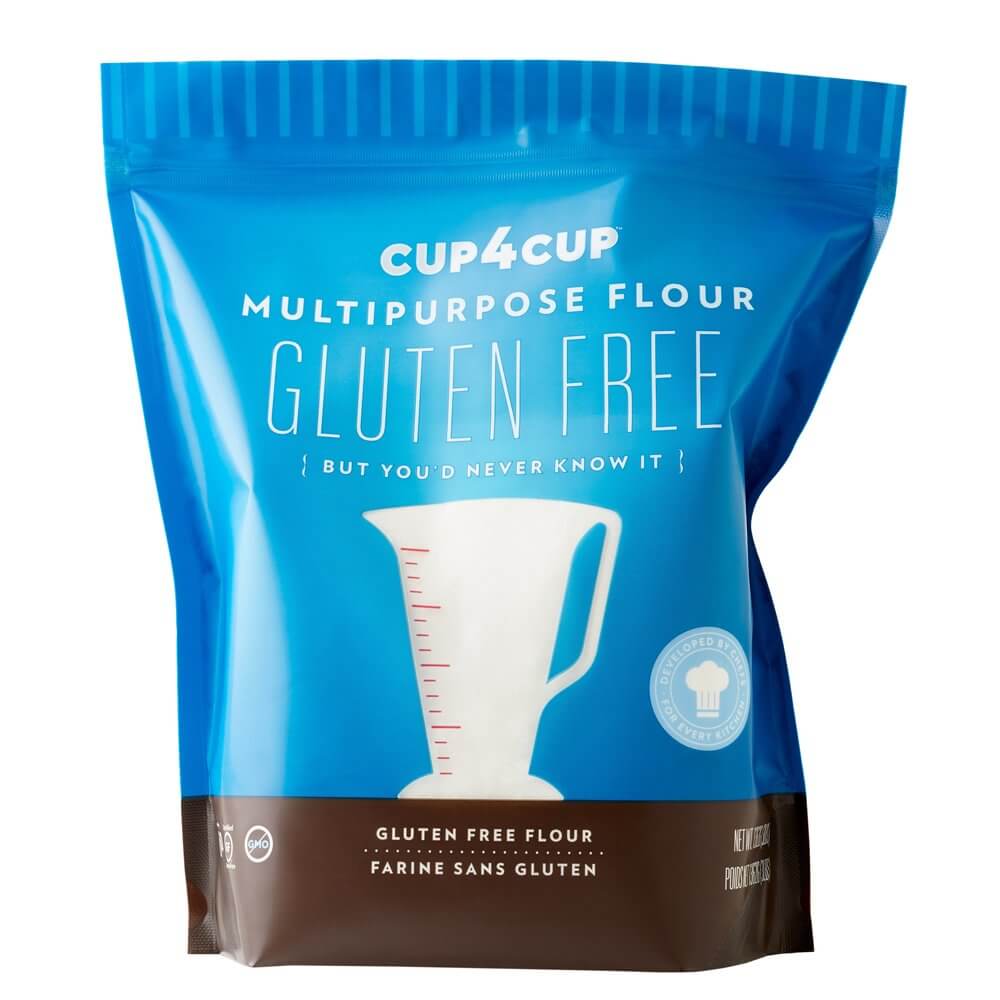
Making a gluten-free pastry, like that needed for empanadas and pop-tarts, and even these gluten-free croissants, requires the right gluten-free flour. I've tested many of them over the years, and for this recipe, Cup4Cup is the right gluten-free flour for the job. It produces the best flakiness, gets the right golden brown color, and gets the pastries nice and crisp. You can of course use whatever gluten-free flour blend you prefer, but please note your results may vary. Based on my baking experience, I also think this recipe would go well with GF Jules or Better Batter flour for a very similar substitute.
Ingredients You Will Need
- gluten-free flour blend (use Cup4Cup for best results)
- granulated sugar
- kosher salt
- unsalted butter
- eggs
- buttermilk
- raspberry jam
- cornstarch
- powdered sugar
- water
How To Make Gluten-Free Pop Tarts
First, you'll create gluten-free dough. Once you roll out the dough, it has to chill for 30 minutes before using. After that, it's a little bit of measuring out the rectangles to be the right size, adding your jam, covering with more dough, brushing with egg, and then into the oven!
While these pop-tarts are delicious on their own, the icing on top (and the sprinkles) add a little more sweetness and color. You can choose to leave them out if you prefer.
Tools For Baking Gluten-Free Pop Tarts
Rolling Pin & Pizza Cutter: This helps for both rolling out the pop tarts and getting them into their nice square shapes.
A ruler or tape measure: To make sure your pop tarts are the same size so now jam leaks over. Definitely recommend having a tape measure nearby!
Bench scraper: While I shape the dough with my hands, you can also use a bench scraper, like this one. It also comes in handy for other baking recipes, like croissants.
Tips For Baking Gluten-Free Pop Tarts
Don't make pastry on a hot day.
Warmer temperatures mean your pastry is going to be more difficult to work with. Stick to a cooler day to make pie crust, if possible!
Be careful how you measure your gluten-free flour.
Along the same lines, and one of my top gluten-free baking tips, if you aren't measuring for weight, then be sure to spoon your flour into your measuring cup, then level off with the back of the knife. This makes sure you get an accurate amount.
Follow. The. Recipe.
This recipe is specifically formulated using Cup4Cup Multipurpose gluten-free flour. If you decide to change anything or substitute other ingredients, they may come out differently than expected and I cannot speak to your results. My experience is in gluten-free and dairy-free baking, but not allergy-free, vegan, or egg-free. You can always email me: [email protected] with any questions and I'm happy to help troubleshoot the best I can.
Refrigerate the dough if it is difficult to work with.
If you notice your pop tart dough is becoming mushy or butter is leaking through your dough, or that your dough is too soft and starts ripping, it might be too warm. Wrap it in plastic wrap or parchment paper and place back in the refrigerator for 30 minutes to cool. Then remove and try again. Trust me - don't try to force the dough to do what you want when it's too warm. Be patient, refrigerate, and try again. It definitely helps!
How To Store Gluten-Free Pop Tarts
These pop tarts are best served fresh. Store them in an airtight container at room temperature for up to 2 days, and reheat in the microwave for 15-20 seconds as needed.
Can I Freeze Gluten-Free Pop Tarts?
I haven't tried it, but I don't see why not! I know others have had success freezing this dough with gluten-free empanadas, so I think freezing them could work. Just defrost in the fridge and reheat in the toaster oven or microwave when ready to eat.
More Gluten-Free Baking Recipes
Feel like an easy quickbread? This banana bread with walnuts hits the spot.
Looking for another scones recipe? Bake a savory version with bacon, cheddar, and chives.
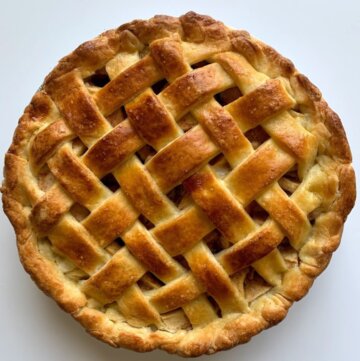
Want to practice your pie making skills? Check out this gluten-free peach pie with lattice design.
Ready to take your baking skills to the next level? Try these delightful, buttery, and flaky gluten-free croissants.
Discover all the gluten-free baking recipes on the blog right here.
Here's how to make a tasty, gluten-free breakfast pastry: the pop-tart!
If you love this recipe, please leave a comment below! Thank you!
Gluten-Free Raspberry Pop-Tarts Recipe
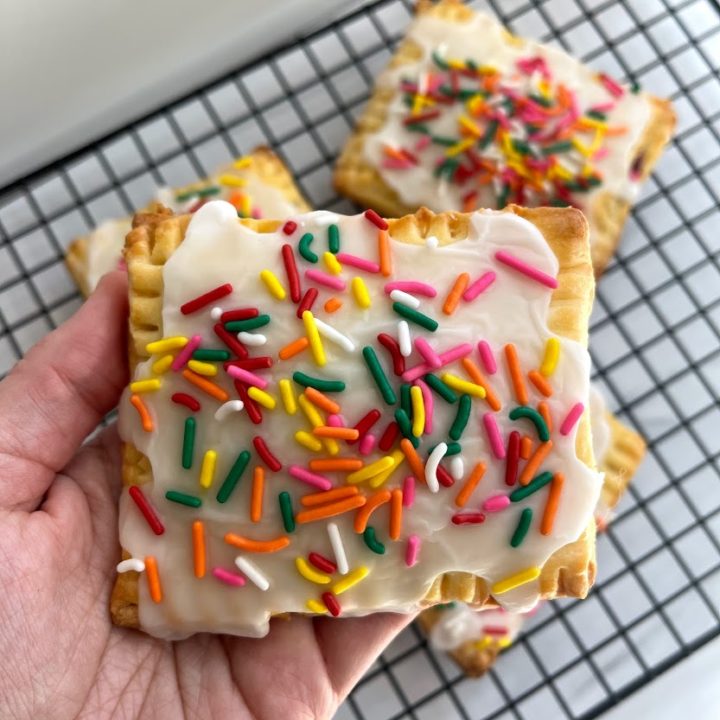
Gluten-Free Pop-Tarts
Recipe Adapted from Cup4Cup, Method inspired by Becky Excell
Ingredients
For the Dough
- 1 ½ cups gluten-free flour blend (Use Cup4Cup for best results)
- 1 tablespoon granulated sugar
- ½ teaspoon kosher salt
- ½ cup unsalted butter, cubed and cold
- 1 large egg
- ¼ cup cold buttermilk
For the Filling
- ½ cup raspberry jam
- 1 tablespoon cornstarch
- ¼ teaspoon lemon juice
For the Eggwash
- 1 large egg beaten with 1 teaspoon water
For the icing
- 1 cup powdered sugar
- water (see recipe notes)
- gluten-free rainbow sprinkles
Instructions
Place all dry ingredients into a large bowl, and whisk to combine. Add the cold, cubed butter, and using a pastry cutter or a fork, combine the butter with the dry ingredients. You can use your hands too! Mix until the mixture resembles a coarse meal. Create a well (a large hole) in the center of the flour mixture, and set it aside.
In a small bowl, combine the egg and buttermilk with a fork and whisk. Slowly add the buttermilk and egg to the well you have created in the flour, gradually whisking the egg with a fork, combining small amounts of flour at a time. Continue mixing until the dough thickens, and form into a ball (you can use your hands again!) Wrap tightly in plastic wrap (or for a greener alternative, Bees Wrap). Allow dough to rest for 30 minutes in the refrigerator before rolling.
Mix the raspberry jam, cornstarch, and lemon juice together in a small bowl. Set aside.
Preheat the oven to 350 degrees Fahrenheit. Remove dough from the refrigerator and let it rest for 2-3 minutes before handling. Lightly flour a rolling pin, and lightly flour your work surface. Roll out the dough to a large rectangle shape, about ⅛ of an inch thick. Using a ruler or a tape measure, cut out squares of 4x3" rectangles, until no dough remains. Make sure you have an even number of squares. For 5-6 pop-tarts, you should have 10-12 squares of dough.
Place half of the squares on a parchment-lined baking sheet. Brush around the border of the rectangles using the egg wash. Add 1 tablespoon of the jam mixture to the center and spread, but not too much. Be sure to leave a border around the edge so the jam does not seep through. Place the remaining half of the rectangles on top of these jam-filled ones, pressing down lightly so they stick together. With a fork, press down on the edges to crimp them together. Poke a few holes in the top of each pastry with the fork, to allow steam to escape.
Brush the pop-tarts with more eggwash and bake for 20-22 minutes. Remove and transfer to a wire rack to cool completely.
Once the pop-tarts have cooled completely, add powdered sugar to a medium-sized bowl. Add 1-2 teaspoons of water at a time, whisking together until the icing becomes smooth and slightly thick. Keep adding water until it reaches the consistency you like. Be careful to not make it too thin, or the icing will spread too much. If you add too much water, don't worry, just counter it with more powdered sugar.
Spread icing onto each pop tart and top with rainbow sprinkles. Allow icing to set. You can serve these at room temperature, but warmed up in the microwave for 10-15 seconds they are perfect!
Notes
Cup4Cup
This recipe was specifically made using Cup4Cup gluten-free flour. If you make this recipe with a different gluten-free flour blend, your results could vary. You may need to add or reduce the amount of buttermilk or use more flour to prevent the dough from becoming too sticky. Due to the lack of gluten in the dough, baking is more challenging, but it can be done! If you have questions about this recipe, please leave a comment and let me know how I can help.
Doubling The Recipe
This recipe makes 5-6 pop-tarts. If you want more, simply double it.
Dough
The dough must rest in the refrigerator for at least 30 minutes before working. Lightly flour it as you roll it out.
Other Fillings
If you don't like raspberry jam, change it to something else! I've also used this dough to make hand pies, empanadas, and other pastries. Have fun and fill them with whatever you like.
Storage
These pop tarts are best served fresh. Store them in an airtight container at room temperature for up to 2 days, and reheat in the microwave for 15-20 seconds as needed.
Nutrition Information
Yield 12 Serving Size 1Amount Per Serving Calories 220Total Fat 9gSaturated Fat 5gTrans Fat 0gUnsaturated Fat 3gCholesterol 52mgSodium 116mgCarbohydrates 32gFiber 1gSugar 17gProtein 3g
The nutrition information on each recipe card is provided as a courtesy and for your convenience. The data is calculated by Nutritionix. You are encouraged to make your own calculations based on your ingredients and preferred nutritional facts calculator. While I try to make sure they are accurate, I cannot guarantee the accuracy of these calculations.
Do you like pop-tarts?
What's your favorite kind?
Tell me in the comments below!


Comments
No Comments